
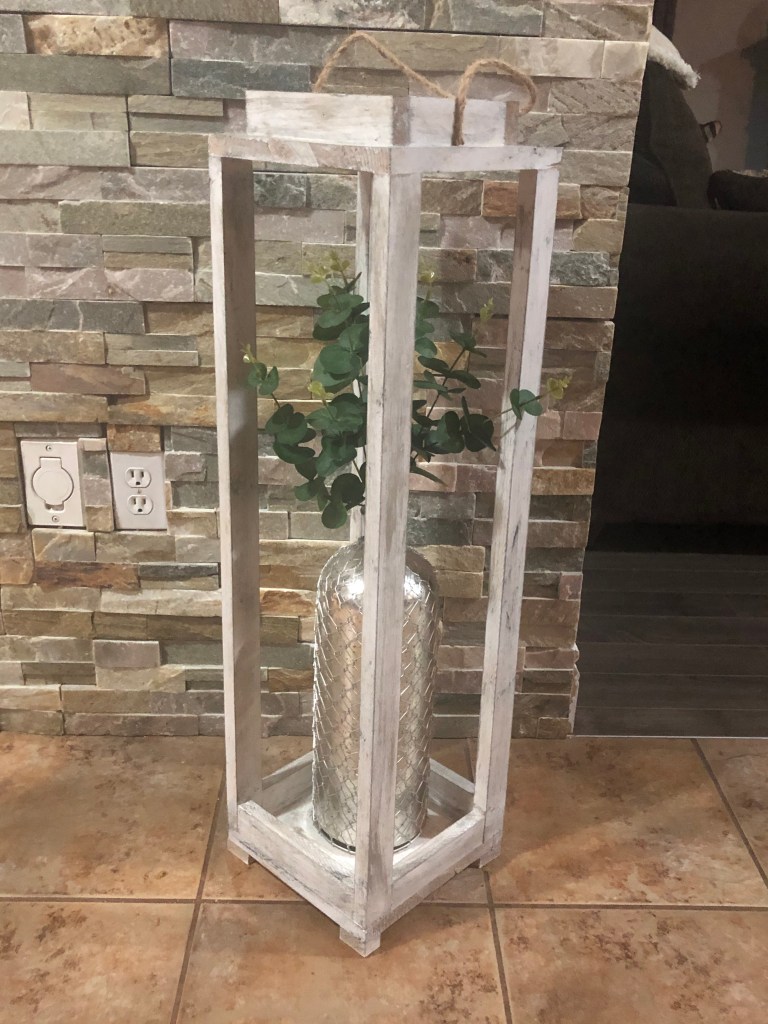
Here is another DIY project. I absolutely love the way this lantern turned out. It wasn’t hard to make and the materials all together came just under $25.00. Much cheaper than buying one this size at the store.
The materials that I used are
Wood (I got all mine at Home Depot)
1 1x2x10 https://www.homedepot.ca/product/thd-1x2x10-select-pine/1000115507
1 1x2x8 https://www.homedepot.ca/product/thd-1x2x8-select-pine/1000115500
1 1x10x4 https://www.homedepot.ca/product/thd-1x10x4-shelving/1000141484
The Paint I used I did not buy I had on hand
Rust – Oleum Linen White Chalk paint https://www.homedepot.ca/product/rust-oleum-chalked-ultra-matte-paint-in-linen-white-887-ml/1000842661
Rust – Oleum Charcoal https://www.homedepot.ca/product/rust-oleum-chalked-ultra-matte-paint-in-charcoal-236-ml/1001011502
Annie Sloan French Linen https://www.anniesloan.com/annie-sloan-products/chalk-paint/french-linen-chalk-paint
brushes and jute rope came from Dollarama and screws I had on hand
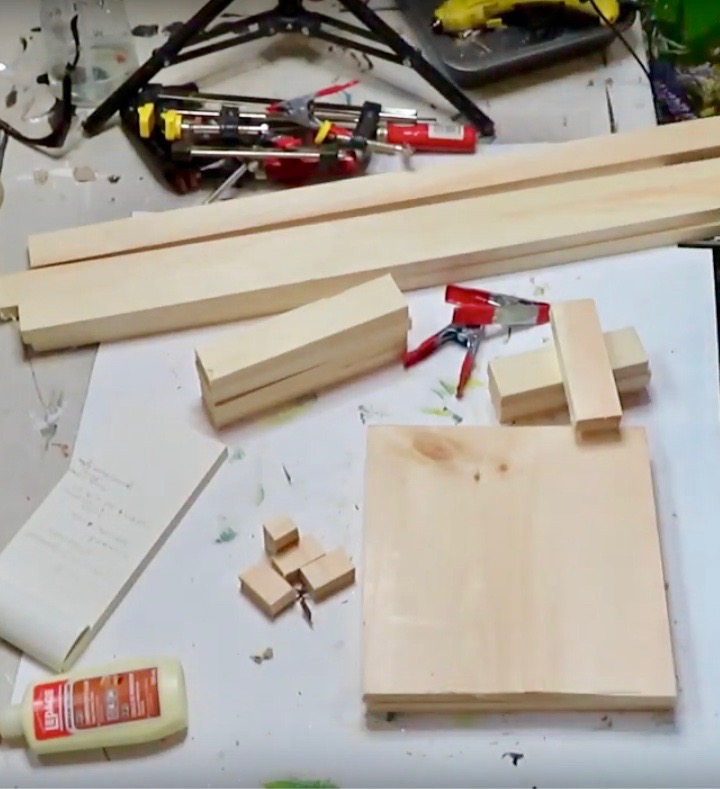
First you want to pre cut all the wood. I had my long pieces cut in half at Home Depot so I could bring them home
Here are the cuts that I made at home
1x2x10 cut into four equal lengths so 2.5foot
1x2x8 cut into 4 – 51/3inch, 4 – 71/3inch and 4 – 1 inch pieces (for the legs)
1x10x4 was cut into 2 10 x10 pieces. You will have some leftover for another project from this one
Once all your pieces are cut it is time to assemble your lantern. I used a screw gun and screws. I would recommend pre drilling the holes especially if you are doing this by your self. (advice from one of my followers). I didn’t do this but I recommend you do it.


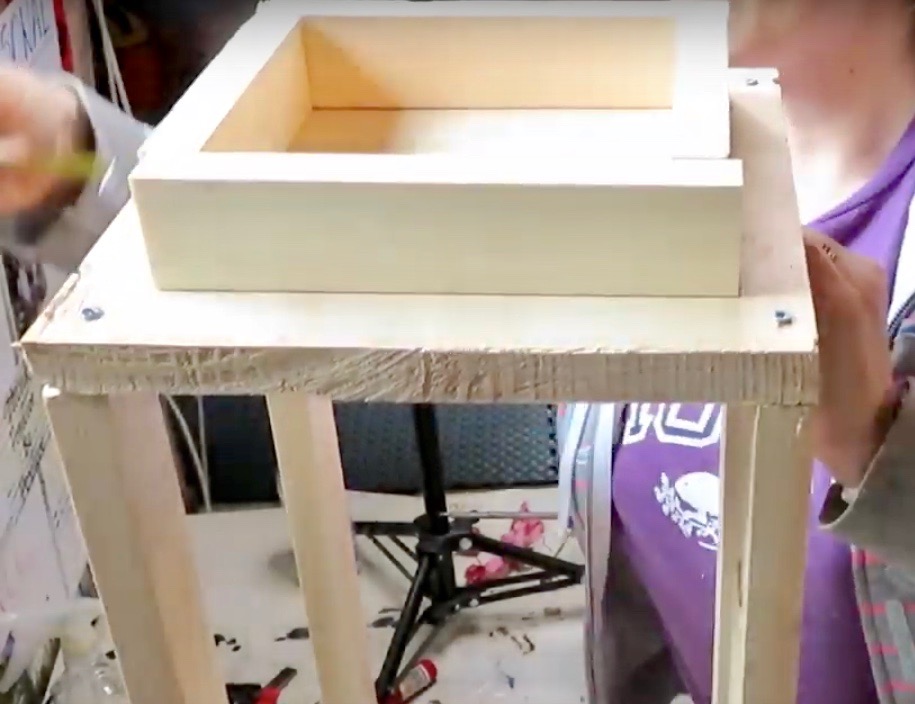
You attache the 2.5f pieces to the square pieces on the top and the bottom at each corner. Once your lantern is assembled glue on the legs using wood glue at the bottom of the lantern in each corner.
Now I move on the small cut pieces and create a box for the top by gluing it and I also insert the small pieces in between the wall sides at the bottom to box it in.


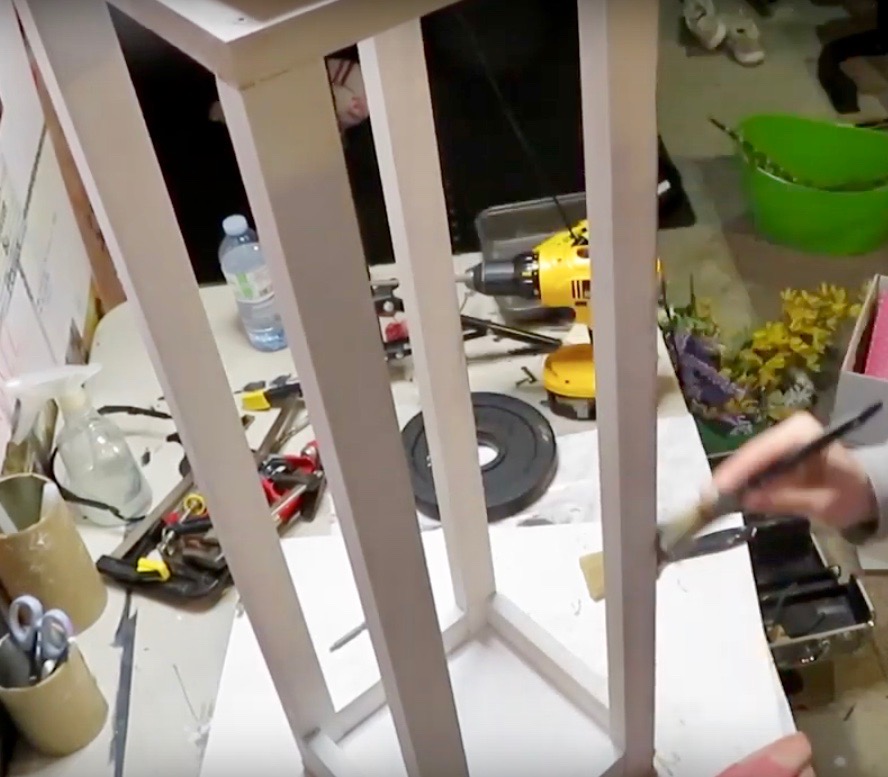
Now its time to place something heavy on top of the lantern and let the wood glue cure. I left it until the next day. Than I painted my first coat of paint. I used Linen white, painted the whole thing but I didn’t go overly heavy with the paint because I wanted some of the wood color to bleed through. Obviously this is a personal choice.

Once the paint dried I dried brush the Charcoal and French linen. If you do not know what a dry brush technique is it is when you use a small amount of paint on a brush to achieve a unique depth on your surface. You remove paint from your paint brush so you are essentially using a dry brush to apply your paint. It creates shadow and depth on your piece.
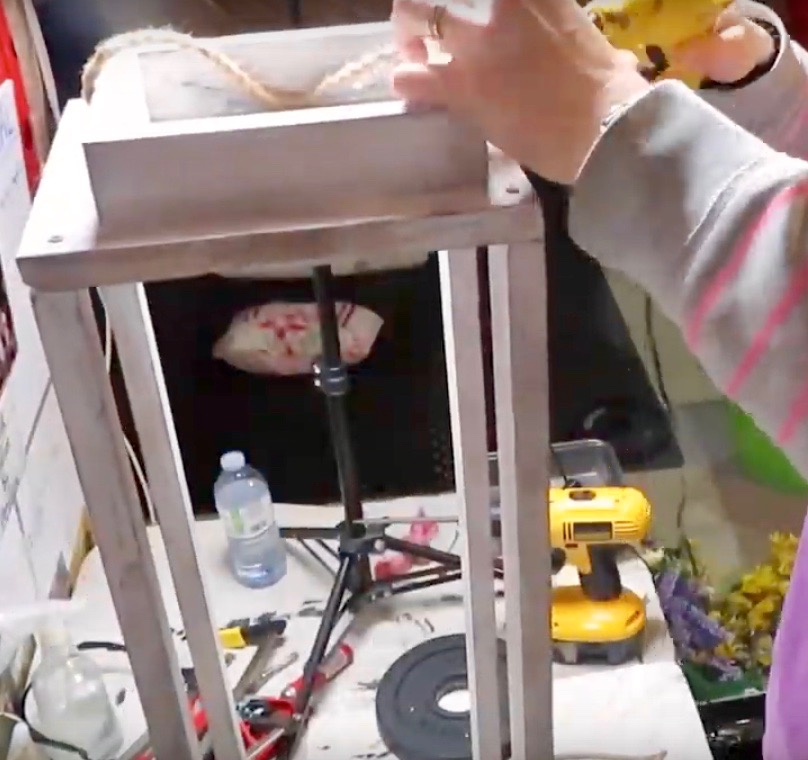
Once the paint has dried the last thing I did was hot glue Jute rope as a handle on top. And that is it. Love how Coastal Rustic Farmhouse it looks and it will be a great addition to my front porch once all the snow is gone for good.
If some of my instructions are hard to follow you can always check out a full video tutorial.
Happy DIYing and let me know in the comments if you are going to be trying it. And if you do try it and make it I would love it if you share your picture on Instagram and tag me in it. Domestic Diva 76
Sonja

Leave a comment