
I have been wanting to create a gallery wall in my Living room for several years now and something has always prevented me from doing it. Not this year. It was my NEW YEARS resolution for my home to create this gallery wall. With my 13 year old golden passing in October it gave me even more reasons to do it since I wanted him to be a part of it. I got some gift cards from Michaels for Christmas and decided I was going to put them towards the frames. Wow frames can be expensive. I ended up going with their cheapest ones since they were the look that I was going for.
The frames that I got are these https://canada.michaels.com/en/black-styleline-poster-frame-by-studio-decor/M10118042.html?dwvar_M10118042_color=Black&dwvar_M10118042_size=22.375%22%20x%2034%22 When I got them they were 50% off so that was a great deal.
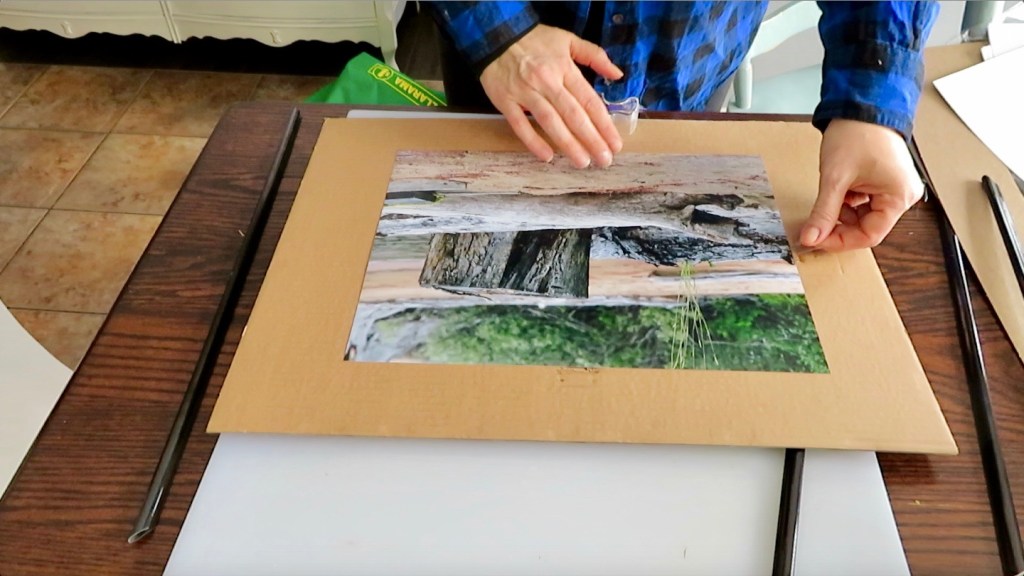
Than it was time to pick out the matting for the frames and these were even more expensive.
The one I got was https://canada.michaels.com/en/double-mat-11in-x-14in–8in-x-10in-opening/10084042.html?productsource=PLPRV. This was not on sale so I only got one and used 40% off coupon.
I than bought Poster board https://canada.michaels.com/en/22×28-white-poster-board-by-creatology-10ct/10176772.html?productsource=PDPRV and cut out my own. The poster board was acid free and leak proof which is good for the pictures. I got my pictures printed at Costco which was very inexpensive. The hardest part was narrowing to six I wanted to put on the wall.


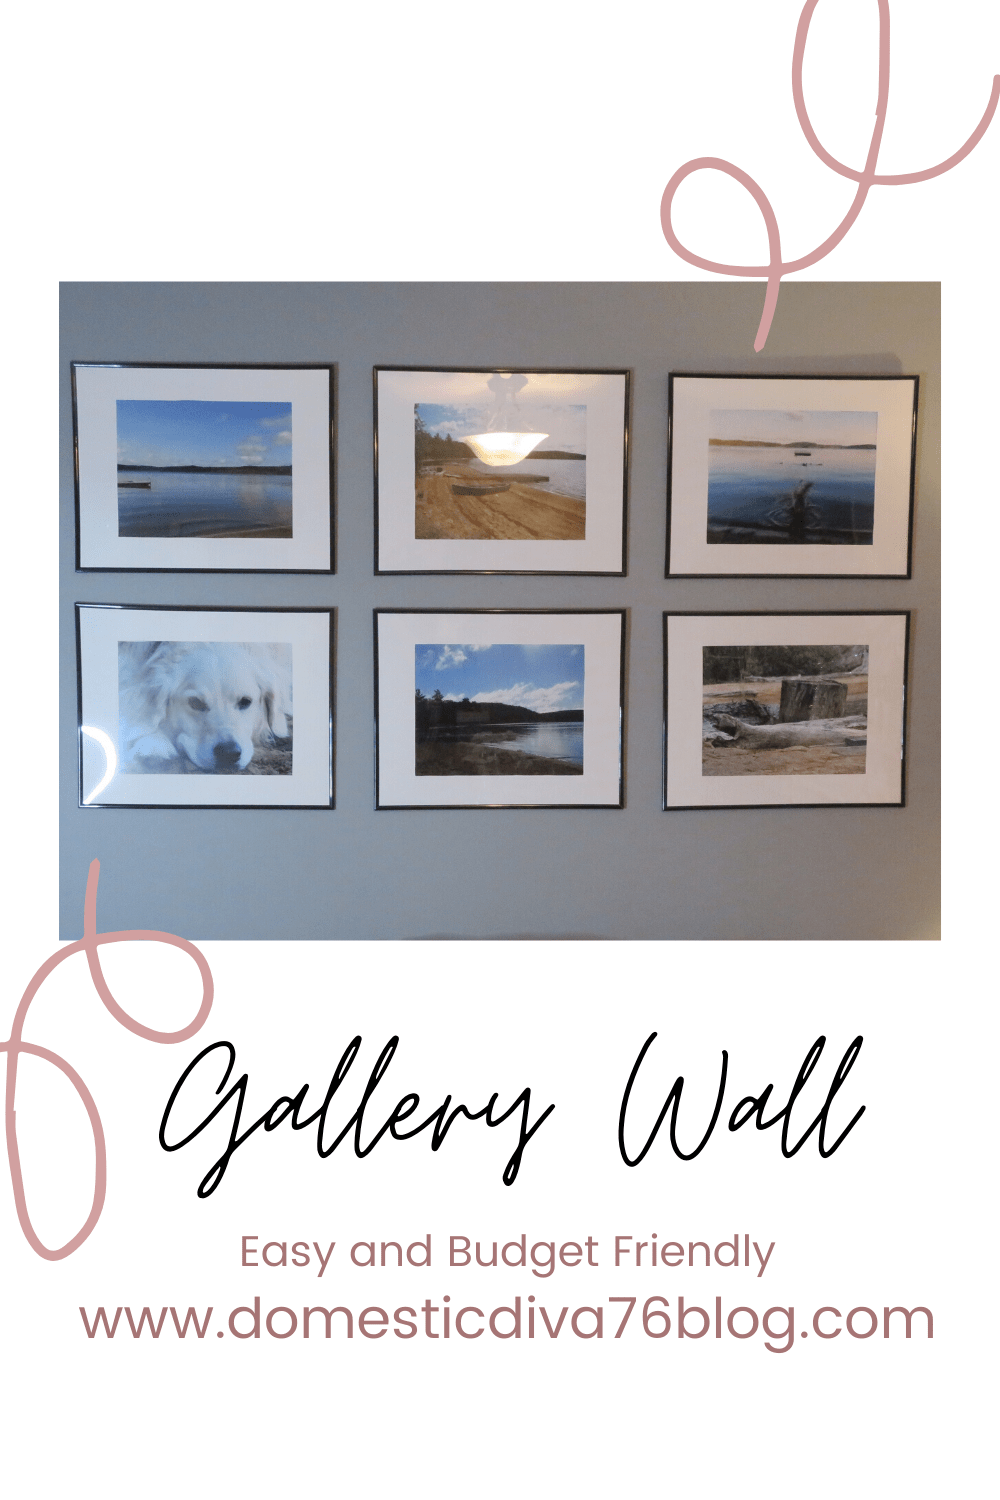
I decided to create a memory wall for a summer cottage that we vacationed for almost ten years at every summer. Not only was it our favourite place to visit and relax as well as enjoy the lake as much as we could, It was my golden’s as well. He spend hours and hours of swimming in the lake. Once I got all my matting cut out and picture frames assembled it was time to put it up on the wall. I used the paper that came inside of the frame to map out my wall and figure out where I wanted to put up the frames.

I attached the paper with a tack and used that hole for screw guide. I also used a level to make sure that all the frames were levels and tacks in the right place. I also used drywall mounts (it think that is what they are call ) to put the screws in and hang up the pictures. One last thing I did is used a measuring tape to make sure everything was evenly spaced out. I could not be happier with the way this gallery wall turned out. Now I have my buddy looking down at me all the time and I get to look at a place that made me happy for so many years.

If you would like to watch this tutorial you can see it here
Happy Reading
Sonja

Leave a comment