
If you’re looking for a delicious, easy-to-make cheese that doesn’t require rennet, you’re in the right place! This cheese is made using whole milk, lemon juice, apple cider vinegar, and salt. The final product is creamy and soft—perfect for spreading or adding to recipes—and it tastes a bit like solid ricotta cheese. Let’s dive into the step-by-step process to create your very own homemade cheese!
Ingredients:

- 4 liters of whole milk (I used non-homogenized milk from Guernsey cows, which has about 4.8% fat)
- 2 lemons (for juice)
- 200 ml apple cider vinegar (add slowly and you will most likely not use all of it)
- 15 – 30 grams of salt (adjust based on how salty you want your cheese)
- Cheesecloth for straining
Instructions:
Step 1: Heat the Milk
Pour 4 liters of whole milk into a saucepan and set it over medium heat. Stir constantly with a wooden spoon to ensure the milk doesn’t stick to the bottom of the pan. Keep an eye on the milk until it reaches a gentle boil.
Step 2: Add Lemon Juice and Vinegar
Once the milk starts boiling, turn off the heat. Slowly add lemon juice and follow with apple cider vinegar, a little at a time. Stir gently, and you’ll see the milk curdle, separating into curds and whey. Stop adding vinegar once the curds have fully separated from the whey.
Step 3: Let the Curds Rest
Prepare a colander lined with cheesecloth, and place it in a large bowl. Pour the curds and whey into the cheesecloth-lined colander. Let the mixture sit for about four minutes to drain off some of the whey.
Step 4: Squeeze and Salt the Curds
After letting the curds sit, gather the cheesecloth around the curds and squeeze gently to remove as much whey as possible. Be careful not to squeeze too hard, as you want to keep the cheese soft and moist. Open the cheesecloth, sprinkle salt over the curds, and mix it in. You can use anywhere from 10 to 30 grams of salt, depending on your preference.
Step 5: Shape and Drain the Cheese
Wrap the curds back up in the cheesecloth and let them sit in the colander to drain more whey. While the cheese continues to drain, take the whey you just squeezed out and pour it back into the saucepan. Add a pinch of salt to the whey and bring it to a boil.
Step 6: Press the Cheese
While the whey is boiling, prepare a flat surface, such as a tray or a plate, and place the cheese (still wrapped in cheesecloth) on it. Put a heavy object on top of the cheese to press out even more whey. I used a cast-iron pan, but any heavy object will work.
Let the cheese sit under the weight for a few minutes, then unwrap and rewrap it into the desired shape. Place the weight back on the cheese and allow it to drain further. Repeat this process until the cheese is nicely shaped and compressed.
Step 7: Final Press and Rest
Once the cheese has taken its desired shape, leave it wrapped in the cheesecloth and pressed under the heavy object for one more hour to ensure all the whey is pressed out.
Step 8: Storing the Cheese
Your cheese is now ready! To store it, place the cheese in a container and pour the cooled boiled whey over it. This will help keep the cheese moist and fresh. Store the cheese in the refrigerator, and enjoy within a few days.
Tips for Best Results:
- The key to making great cheese is patience. Don’t rush the pressing process, as letting the whey drain completely helps the cheese achieve the perfect texture.
- For a softer cheese, don’t press it for too long. If you prefer a firmer cheese, extend the pressing time.
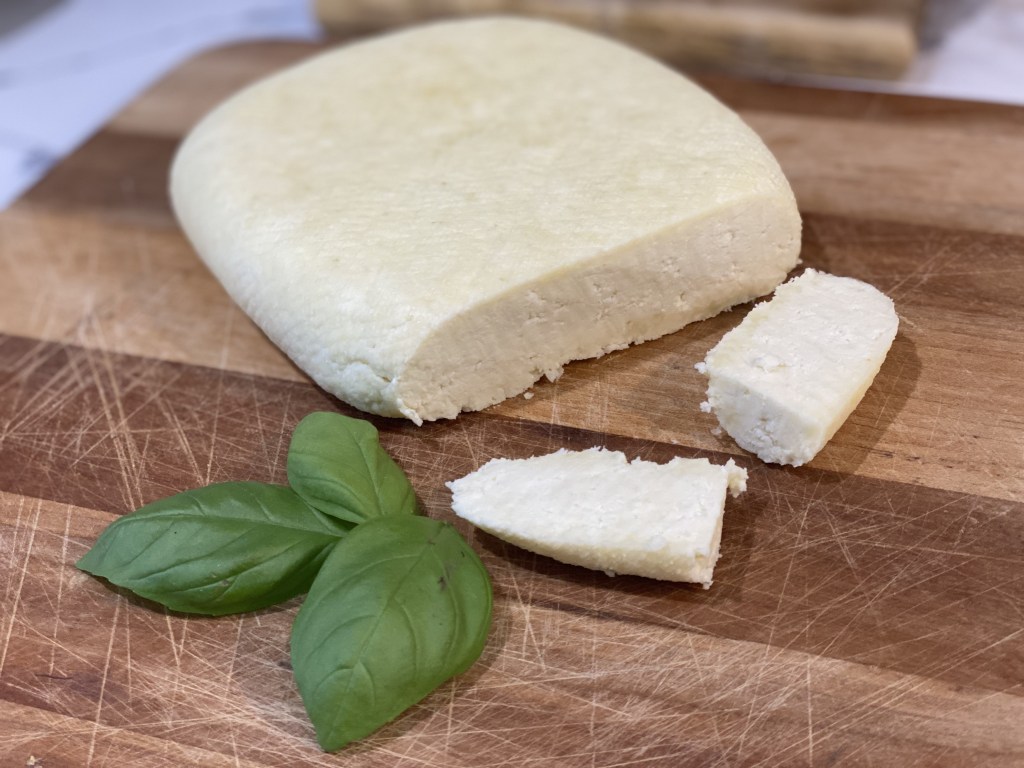
What Does the Cheese Taste Like?
The cheese has a mild, slightly tangy flavor, and its texture resembles a firmer ricotta. It’s perfect for using in salads, charcuterie board or incorporating into your favorite recipes.
Why Homemade Cheese Without Rennet?
Making cheese without rennet is an easy and natural way to enjoy fresh dairy at home. Using lemon juice and apple cider vinegar to curdle the milk creates a soft, tasty cheese that’s perfect for beginners or anyone looking for an alternative to store-bought varieties.
Enjoy your homemade cheese! Whether you’re making it for yourself or sharing with friends and family, this simple recipe is sure to become a staple in your kitchen. Don’t forget to leave a comment and let me know how your cheese turned out!
Final Thoughts:
This homemade cheese without rennet is incredibly versatile and fun to make. With just a few ingredients and some patience, you can create a delicious, natural cheese that’s perfect for snacking or using in your favorite dishes.
Happy cooking
Sonja

Leave a comment