
Welcome to the world of culinary innovation! In this blog post, we’re excited to introduce you to the KitchenAid Grain Mill Attachment—a versatile addition to your kitchen arsenal that opens up a world of possibilities for creating fresh and wholesome ingredients. Whether you’re a seasoned home chef or just starting your culinary journey, this attachment is designed to elevate your cooking experience. If you would rather watch than read you can find information here plus I share a bread baking trials with freshly milled flour.
What is the KitchenAid Grain Mill Attachment?
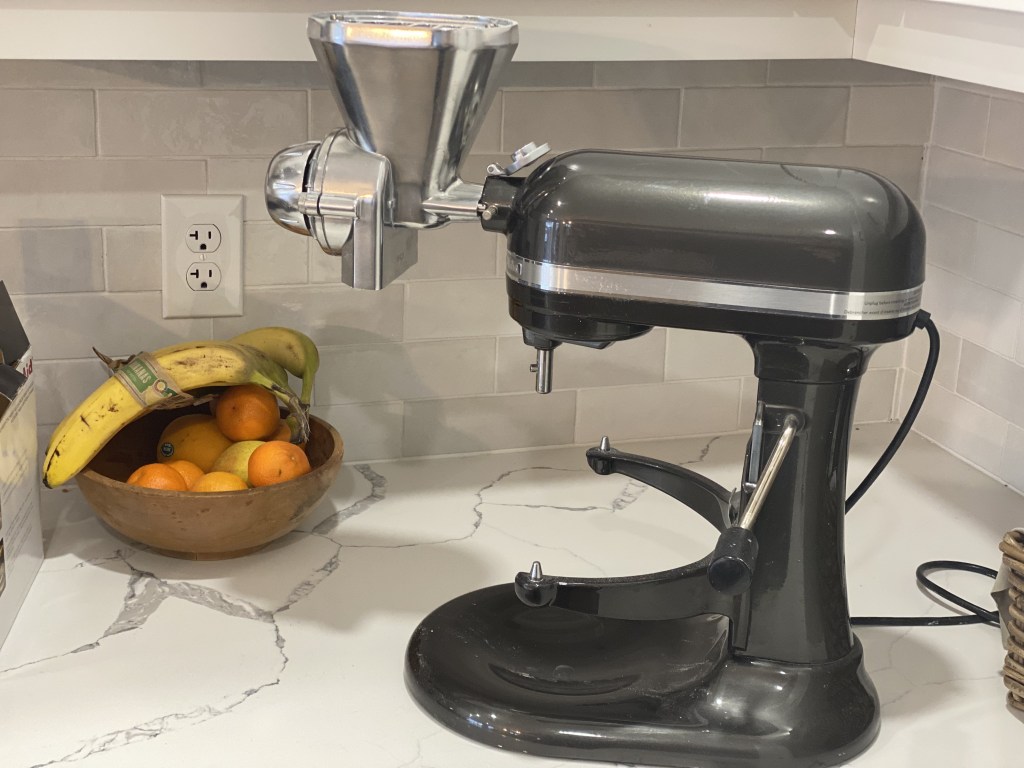
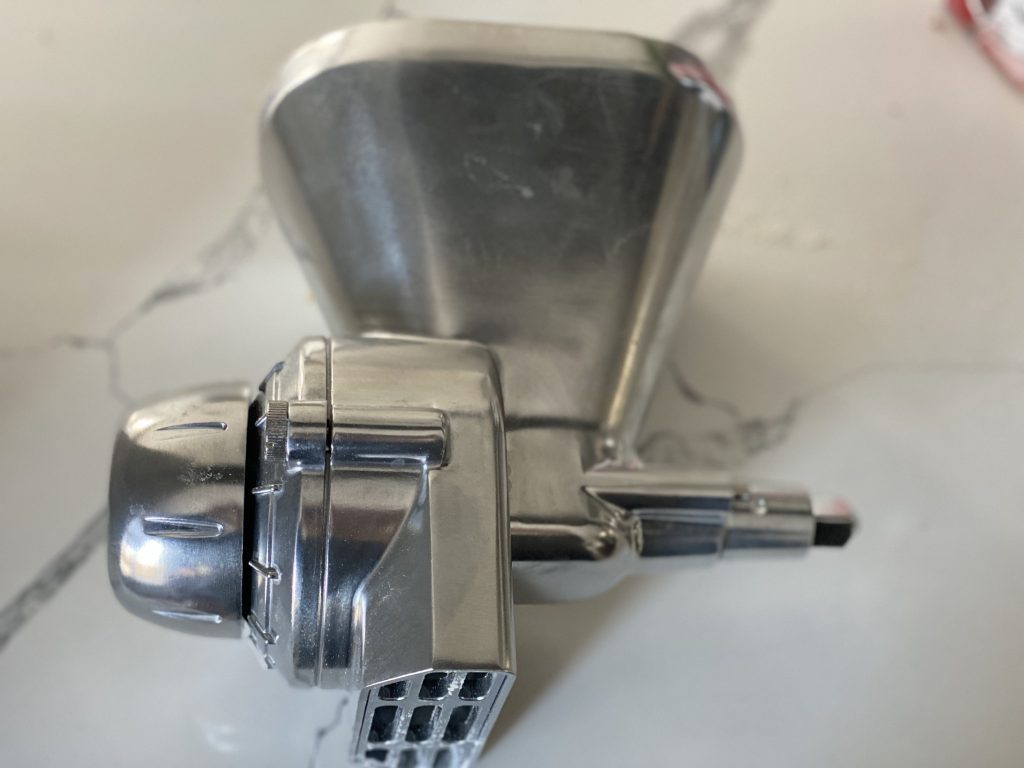
The KitchenAid Grain Mill Attachment is a powerful and efficient tool designed to transform various grains into freshly milled flour right in the comfort of your own kitchen. Compatible with most KitchenAid stand mixers, this attachment brings the joy of milling to your fingertips.

Purpose and Benefits:
Freshness Guarantee: Enjoy the unparalleled flavor and nutritional benefits of freshly milled flour. Say goodbye to store-bought alternatives and embrace the superior taste and quality of ingredients you mill yourself.
Versatility in Grains: From wheat and rice to oats and barley, the KitchenAid Grain Mill Attachment allows you to experiment with a variety of grains, giving you the freedom to explore diverse textures and flavors in your recipes. It is recommended that you do not mill anything oily like coffee or nuts
Customizable Texture: Take control of your ingredients by adjusting the coarseness of your grind. Whether you’re baking bread, making pasta, or creating the perfect pancake mix, tailor the texture to suit your culinary needs.
Healthier Options: Milling your own flour allows you to incorporate whole grains and experiment with alternative flours, contributing to a healthier and more wholesome diet.
Getting Started:
1. Attaching the Grain Mill to your KitchenAid Mixer:
Attaching the grain mill to your mixer is super easy. You have to remove the pin on the side of the opening on your mixer. Lift the cover up and slide the mill in with the pointy end. Screw the pin back in to hold the mill in place


2. Selecting and Preparing Grains:
I have milled so far Hard Wheat Kernels as well as Kamut Kernels. If you want white like flour you should mill Hard White Kernels. But any hard kernels are great for making bread
3. Adjusting Grind Settings:
You can switch between fine and course grind. Adjusting this is according to recipes. For bread you can choose course grind but for other baked goods you want finer grind. You can use fine grind for bread as well.
Maintenance and Care:
The mill should not be placed in water. There is a cleaning brush with a end that helps you take the screws out and just used the brush to clean it. It does not need to be cleaned after every use but if you are switching between different types of grain I would recommend cleaning it in between.

My Thoughts;
I was pleasantly surprised how well this mill worked. It milled fine enough for most of my baking needs. It was a lot less laud than I though and it took like 2 minutes to mill 2 cups of flour. Over all for my fist grain mill I am impressed. So if you are just starting out in the grain milling world like I am I thing this is a great product. You can get it herehttps://amzn.to/47Qdvbp if shopping in Canada and here if shopping in USA https://amzn.to/4bdhjq7
Happy milling!
Sonja

Leave a comment